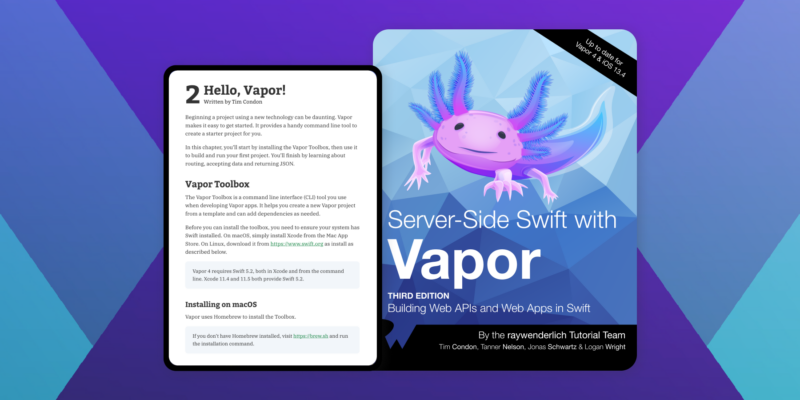
A template Vapor app with nginx frontend. This example is meant to show how you can build a simple web application using Vapor and nginx.
The vapor swift is a template Vapor app with nginx frontend. It’s built for iOS and Android, but can also be used as a web server.
This is an example of a Vapor application. It includes the app as well as supporting components (Postgres database, nginx frontend for secure connection), all of which are ready to use right out of the box using docker compose. It’s an excellent starting point for Vapor developers who want to build an API server that can be accessed from macOS and iOS clients.
Several situations are supported by the app. You don’t have to worry about the contents of anything since it’s all created using docker-compose. Alternatively, you may run the Vapor app interactively in Xcode (for development, debugging, and testing) while the other Docker components continue to run. These possibilities are explored in more depth further down.
The purpose of this project is to show how to deploy to a local Mac for development and testing. Although some of the concepts and code presented here may be appropriate for production deployment, no assurances can be made since it has not been vetted or battle-tested. You should use it at your own risk.
Starting at the beginning
Install Docker Desktop for macOS first. This project may work in other settings, but I’ve only tried it on MacOS using Docker Desktop.
The software may then be used nearly immediately. Consider the following situations.
The private key and certificate for TLS encryption are the only things you must supply (HTTPS). You’ll get warnings about the certificate and key files not being found if you try to docker compose up right after cloning this source. This project does not include a key or certificate for security reasons; you must create and supply your own.
Getting the key and the certificate ready
A description of TLS in contemporary macOS and iOS, as well as instructions for creating the key and certificate in a manner that is acceptable to modern Apple systems, may be found in this blog article.
Make a functioning folder for yourself. To create your keys and certificates into that folder, follow the steps in the blog article, and then install the CA certificates into your devices. You’ll have a lot of files, but only a handful will be useful for this project.
Do the following once you’ve finished the generating procedure.
- Combine the development CA certificate with the server certificate to create a single file that contains the whole certificate chain. development-ca.crt is a subdirectory of development.crt.
- Next to nginx.conf that is already present in those directories, copy development.crt and development.key to frontend/nginx and frontend-xcode/nginx.
That is all there is to it. Docker compose up may now be used to operate the system (add -d flag to daemonize if you want).
Typical situations
Here are the situations I’ve thought about and tried for this project, as well as how to go to different resources in each instance.
Using Xcode to create your Vapor project
What: In Vapor, you must build some business logic and functionality. Simply go at this project and begin changing the Vapor section of the code. You may just start the project after opening the backend folder in Xcode.
Simply clone the repository, give the key and certificate as described before, then execute docker compose up -d. Then, in Xcode, run the project. https://localhost:8082 or https://[your-mac-hostname-or-ip]:8082 are the HTTPS addresses for the server. You may do this from any macOS or iOS device, and it should simply work if you followed the previous steps to install the development CA certificate. With your preferred PostgreSQL client, inspect the database at the standard address localhost:5432.
Execute the Vapor program in Xcode as an exercise, and then use your Terminal to run the following cURL command:
curl -X POST -v https://localhost:8082/todos —header “Content-type: application/json” —data ‘”title”: “first todo”‘
Keep an eye on the cURL output, the Docker Desktop console, the Xcode console, and the database content.
Performing tests
What: For your Vapor project, you should create tests. Use normal Xcode features to run these tests. Because the data is wiped away at each test invocation, the tests run against a separate PostgreSQL database instance that is different from your application database.
How to: Run normal Xcode tests. One option is to direct the tests to a separate database port, allowing them to interact with the testing database rather than the actual database. The simplest method to accomplish this is to use the Xcode testing scheme to supply the environment variable.
You may directly connect to the testing database at localhost:5433 using your favorite PostgreSQL client.
Using the Vapor server in its current state
What: It’s possible that you’re not working on the Vapor portion of the code at all; instead, you’re relying on existing functionality.
How: It doesn’t get much easier than this. Simply clone this repository and execute docker compose up -d to get started. After that, go to https://localhost:8081 or https://[your-mac-hostname-or-ip]:8081 to connect to the server via HTTPS. You may do this from any macOS or iOS device, and it should simply work if you followed the previous steps to install the development CA certificate. With your preferred PostgreSQL client, inspect the database at the standard address localhost:5432.


